


How to Get a Drone License: A Step-by-Step Guide
Drones have revolutionized the world of videography, opening up breathtaking possibilities for capturing stunning aerial footage. But, not just anyone can fly a drone and profit off its picturesque images. As a videographer, you have to have your drone license. So how do you get a drone license? And why do you need a license to fly a drone?
Why a Drone License Matters:
- Legal Compliance: Operating a drone without the proper licensing can lead to hefty fines and legal trouble. The Federal Aviation Administration (FAA) in the United States, for example, requires all drone operators to hold a Remote Pilot Certificate. Obtaining this license ensures you're following the law while pursuing your passion.
- Safety First: Drones can be potential hazards if not operated responsibly. A drone license equips you with knowledge about airspace rules, safety protocols, and emergency procedures, reducing the risk of accidents.
- Professionalism: Clients often seek videographers with the skills and credentials to operate drones professionally. A drone license showcases your commitment to providing high-quality, safe aerial footage, enhancing your reputation as a videographer
How to Obtain a Drone License:
- Eligibility: To qualify for a drone license, you must be at least 16 years old and be able to read, write, speak, and understand English. You also need to pass a background check.
- Studying for the Part 107 Exam: The FAA Part 107 exam is the key to obtaining your drone license. It covers topics such as airspace regulations, weather, drone operation, and emergency procedures. If you’re not good at weather, science and math, study up! This test is not easy and does require ample time to study and familiarize yourself with reading aeronautical maps. The FAA takes it very seriously. Fortunately, there are numerous online courses and study guides available to help you prepare.
- Taking the Exam: You can schedule the Part 107 exam at an FAA-approved testing center near you. The test consists of 60 multiple-choice questions, and you need to score at least 70% to pass.
- Applying for the License: Once you pass the exam, you can apply for your Remote Pilot Certificate through the FAA's Integrated Airman Certification and Rating Application (IACRA) system. You'll also need to undergo a background check.
- Renewal and Ongoing Learning: Your drone license needs to be renewed every two years. Staying informed about changes in drone regulations and practicing safe flying habits is essential for maintaining your license.
Benefits of a Drone License for Videographers:
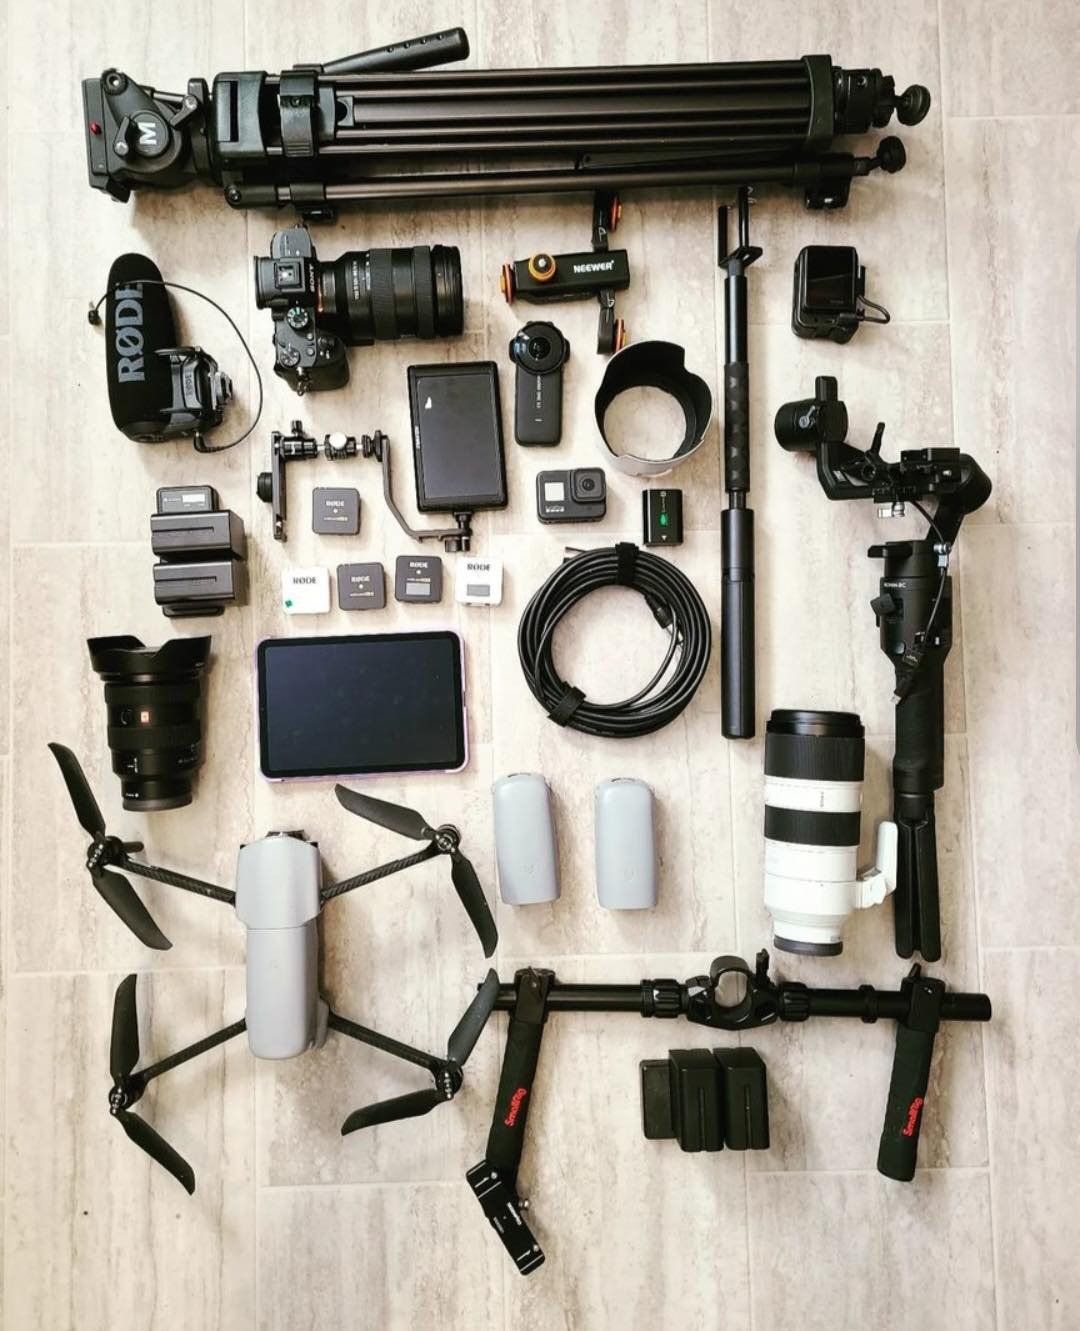
- Expanded Creativity: With a drone license, you can capture breathtaking aerial shots that add depth and diversity to your video projects. Whether it's a wedding, a real estate video, a nature documentary, or just promotional footage, drones enable you to explore unique angles and perspectives that you would otherwise not be able to see.
- Competitive Advantage: In a competitive videography industry, having a drone license sets you apart from the competition. Clients are more likely to hire a licensed drone operator because it demonstrates professionalism and expertise. And the footage just looks really cool.
- Diverse Project Opportunities: With a drone license, you can diversify your services. Aerial footage is in demand across various industries, including real estate, agriculture, tourism, and more, allowing you to expand your client base.
So, having a drone license not only keeps you on the right side of the law but also opens doors to exciting creative opportunities. Having your drone license is worth it. If you're a videographer with a passion for storytelling through aerial imagery, invest in your future by getting your drone license and watch as your career soars to new heights!
Ready to take your video projects to the next level? Explore more resources from Beyond Words Productions and let's connect today.


 Certified badge, blue, green, black, and white, with 2026 date")